This post will make a lot more sense if you read the framework for the project in “Soft Drink Project Part 1: The Framework“.
I left the classroom energized; I could not remember a time that I was more pleased with a lesson that I had taught. In fact, I wouldn’t even call it teaching. I was observing. The process of brainstorming began organically. I had my doubts that it would continue the following Monday. Typically, students can’t even remember where they sit after a weekend–let alone what task they ended on.
Monday came and, much to my astonishment, students came into the room, ran right to the board, and began to draw out configurations they were thinking of over the weekend. I must have looked surprised, because they gave me weird looks… looks that said:
“What, you think we don’t do math on weekends?”
I took a minute to settle them down for attendance and then reiterated the task. As a class we brainstormed what the final goal should be. Just like the previous lesson, I opened up the floor for suggestions and began recording:
“The box should contain less cardboard”
“The box needs to be easy to ship”
“The box needs to be stackable”
“The box should waste less space”
“The box should look cool”
“The box should be original”
It was obvious that students had put thought into their goals before the class began. After some debate on the importance of each property, we settled on the fact that the box needs to improve sales. If that means taking an environmental angle, then so be it. If that means developing some kind of gimmick, then run with it. I insisted, however, that a total surface area be submitted. Just as the ground rules were laid out, a hand shot up. This was shocking for two reasons:
-
The student who raised his hand NEVER raises his hand.
-
I’m not sure I have ever been able to engage this student before this moment.
He asked:
“We are so worried about the boxes. What if the boxes are not the problem?”
Again, I contain my inner rejoicing and probe further…
“What do you mean by problem?”
The student went on to explain how the surface area and volume were too large, and maybe this was not the fault of the box. Maybe the cans were to blame. In his eyes, the fundamental problem was that the cans were cylinders and the boxes were rectangular prisms. He thought they should match.
I told him that he was well on his way to a zero waste model; his project is one of the most compelling of the group. he got right to work.
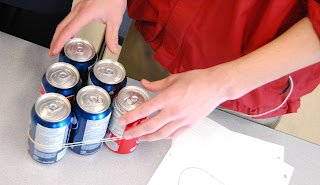
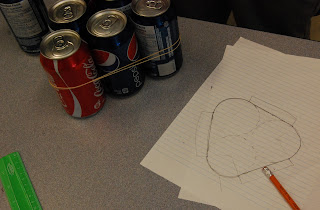
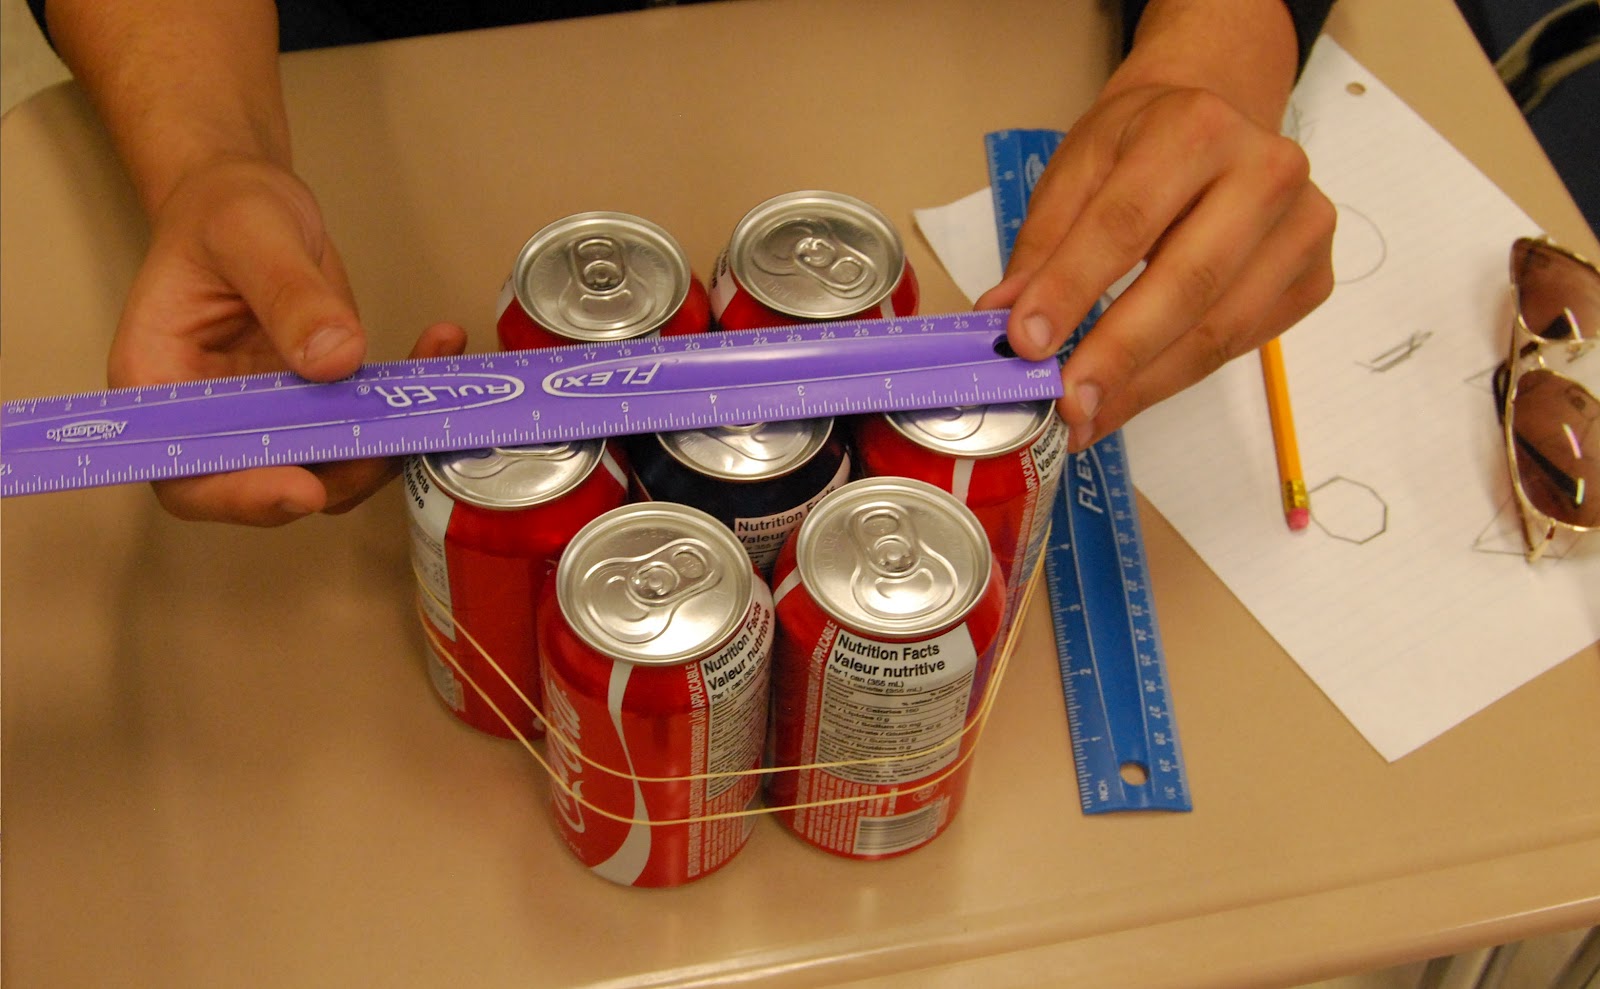
Students got into groups of 3-4 and began scribbling formations on paper. Some asked for cans, others needed ways to hold cans in place for measurements and estimations. One student came up with the idea to hold cans together with elastic bands. This idea was wildly popular and soon I was running to the office for more.
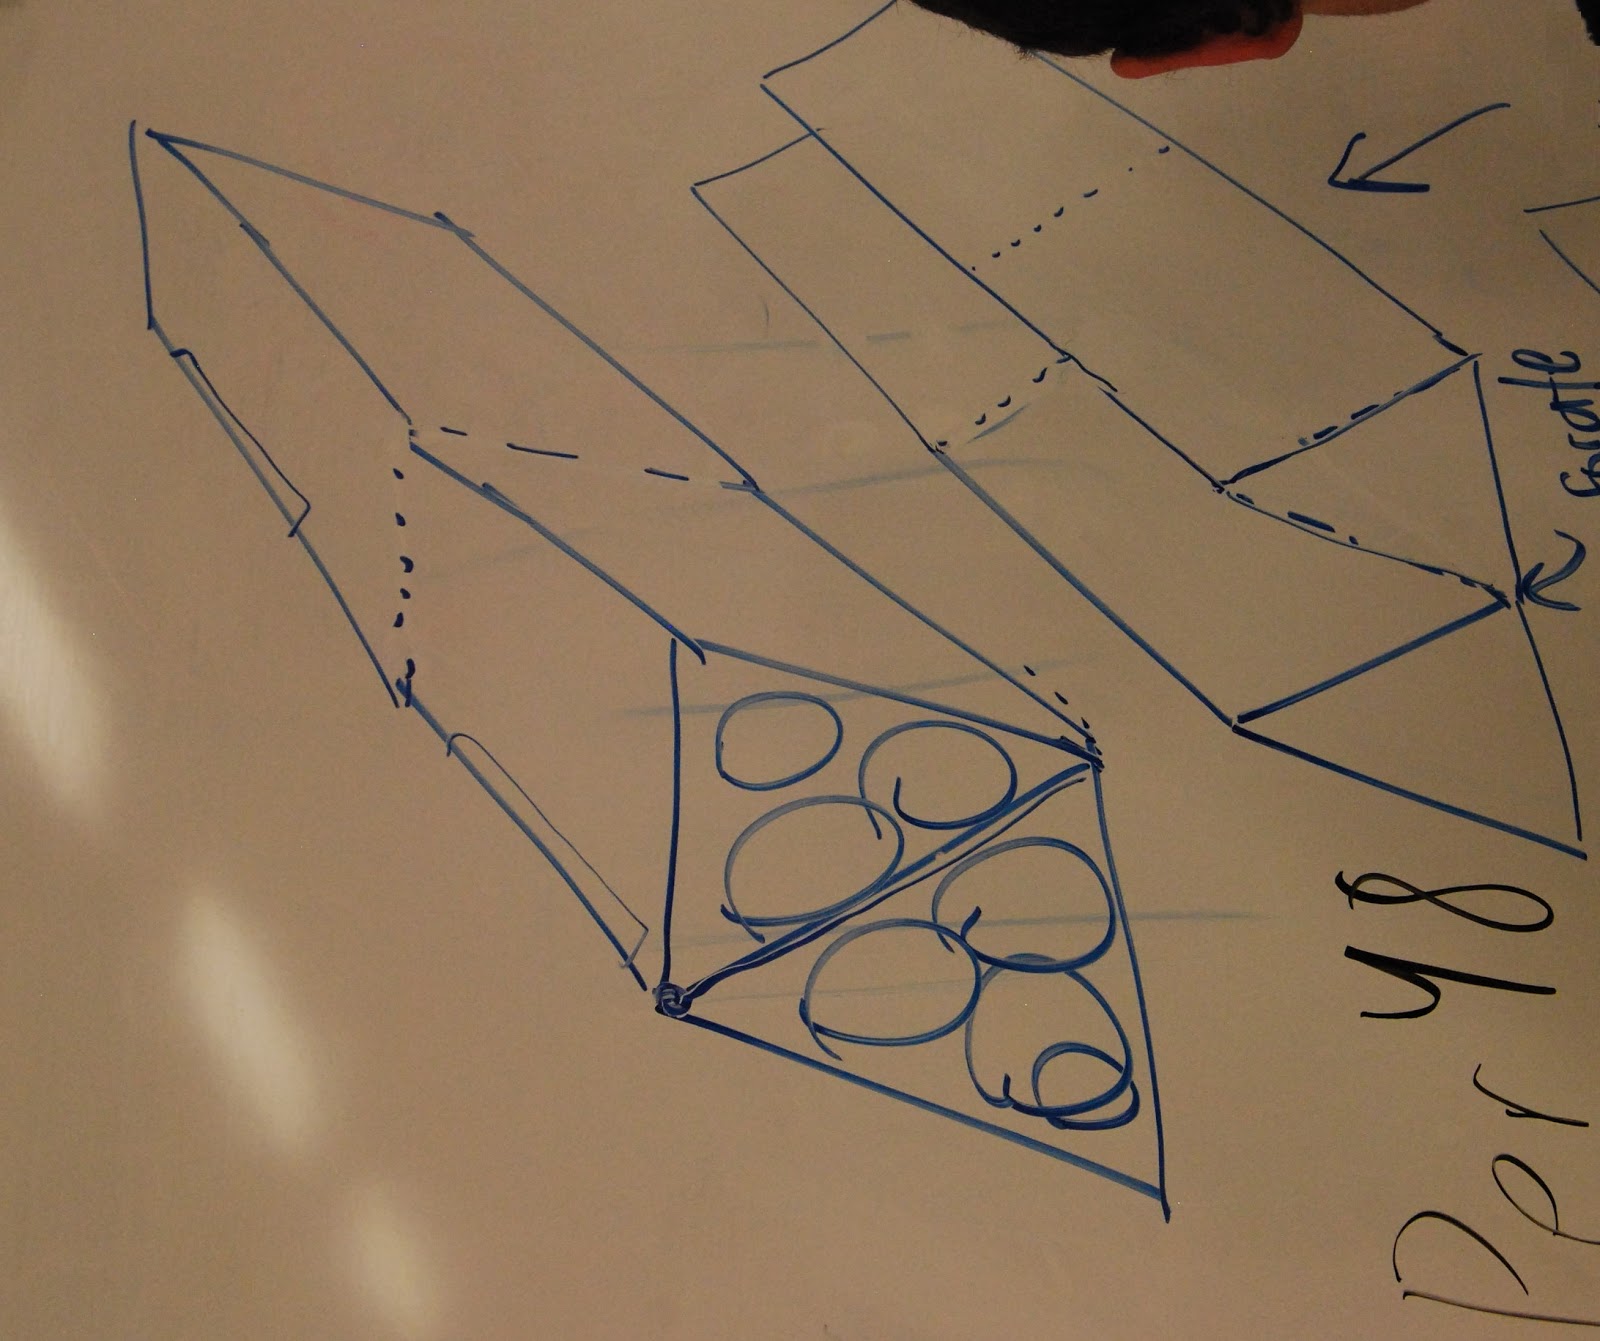
I assumed that triangles may figure prominently in our investigation, but that only scratched the surface. Triangles were followed by hexagons, diamonds, and trapezoids. One group designed a Tetris inspired model. Most of the models were physically built with cans on their tables.
As I circulated, I would move a can, and ask if I created a more efficient model. Usually I was quickly rebuffed for wrecking their model, but the justifications were solid. Each group presented an impromptu sales pitch for their idea. I once again played skeptic–and was amazed.
 |
| A cylindrical model takes shape |
 |
| Triangular prism is constructed and analyzed |
 |
| Another triangular prism gets edges curved after being traced onto paper |
 |
| A diamond is designed, but soon re-arranged for stacking reasons |
 |
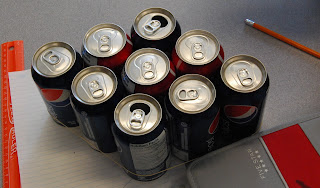
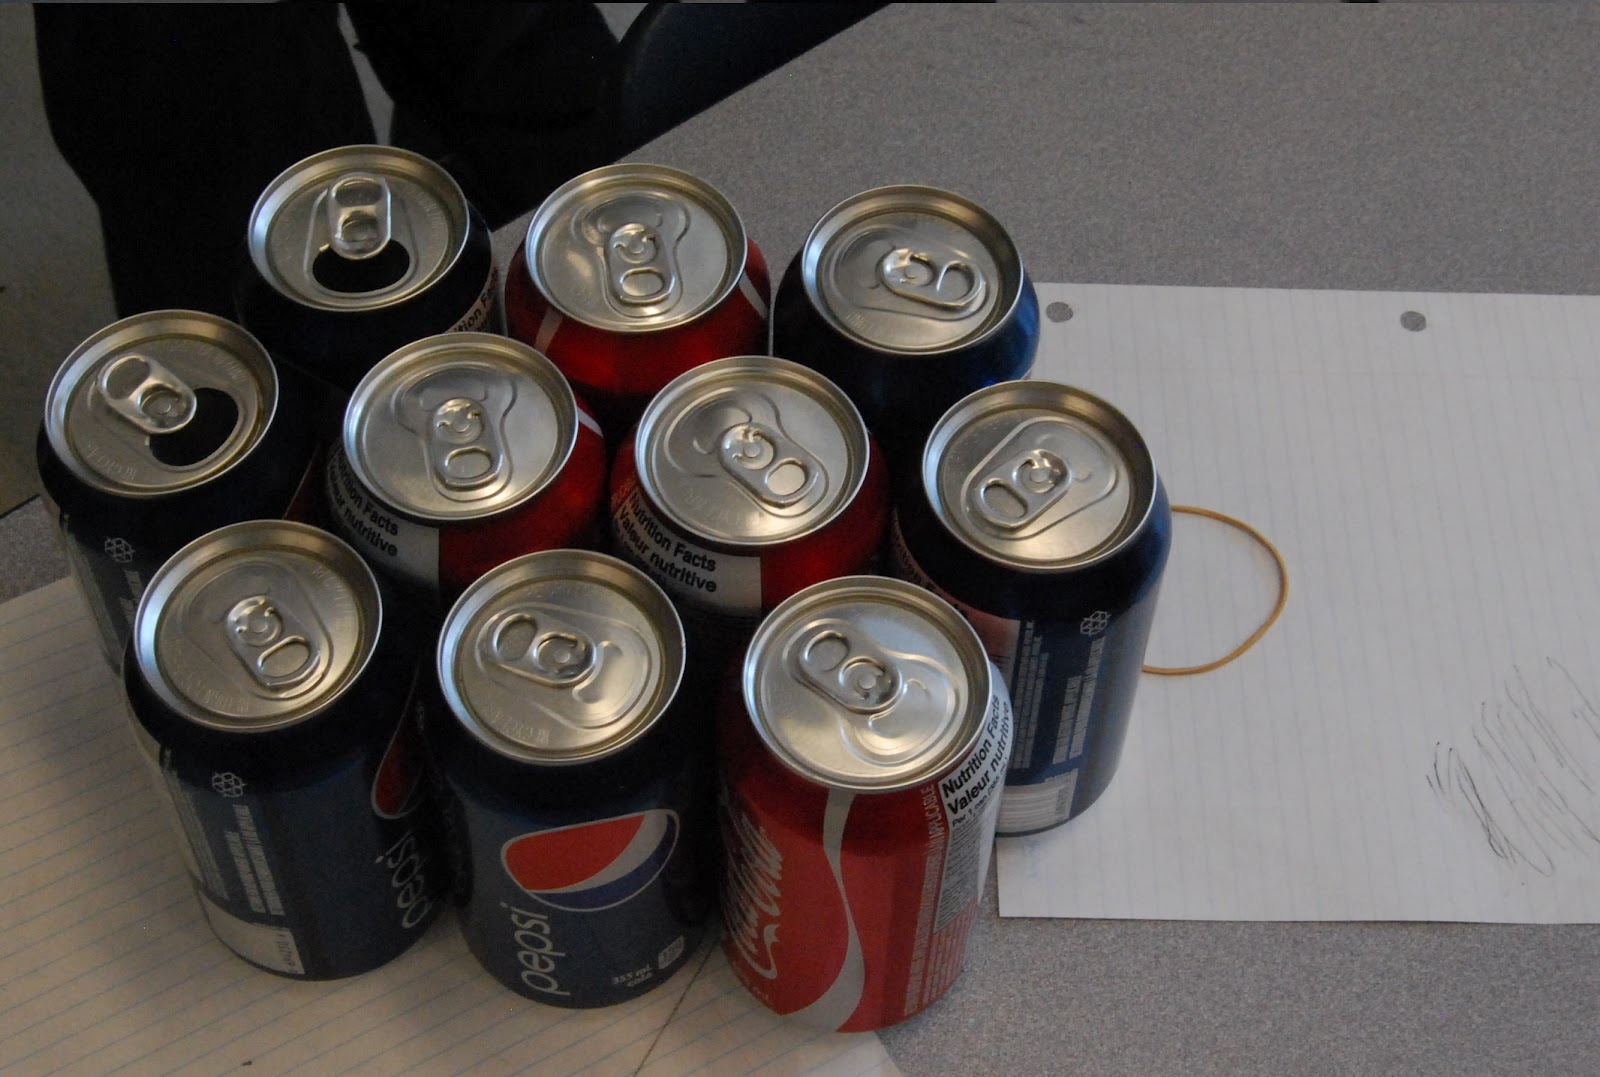
| A 10-pack is designed. Students trying to save volume without curving their box edges |
As the class progressed, I noticed one very quiet group was still standing at the board. I approached them to tell them to get to work, but before I could open my mouth, I overheard an argument:
“You can’t sacrifice convenience for surface area”
“It can be the smallest package in the world, but people won’t buy it if it won’t fit in their fridge”
As I got closer I saw two diagrams written on the board. This group was too slow getting to the supplies table, and wasn’t able to get pop cans. Instead of letting that stop them, they picked up some markers. One diagram was a trapezoidal model and the other was a parallelogram:
 |
| The trapezoid 10-pack (on the right) |
 |
| The parallelogram model |
I didn’t interfere with the debate, but did clarify what each side was saying. One didn’t want to do the trapezoid because the cans were still sitting directly on top of one another. That did not conserve space and made it too high to fit in a fridge. The other didn’t think a 6-pack was enough and the triangular prism only held six.
As they continued to talk, I left. I listened to the new can design from the student who thought the shapes should match. He had designed a system where triangular prism cans would fit into a triangular prism box. I told him I was very pleased, but still wanted the cans to hold 355mL. That hurdle will be tackled in a subsequent blog post.
As I ventured my way back to the front group, they had developed a solution. They would have two 6-packs connected by a perforation. That way consumers could tear them apart and put one half into the fridge and one half in storage. Or one half in the garage and the other in the camper. They sold me on the versatility.
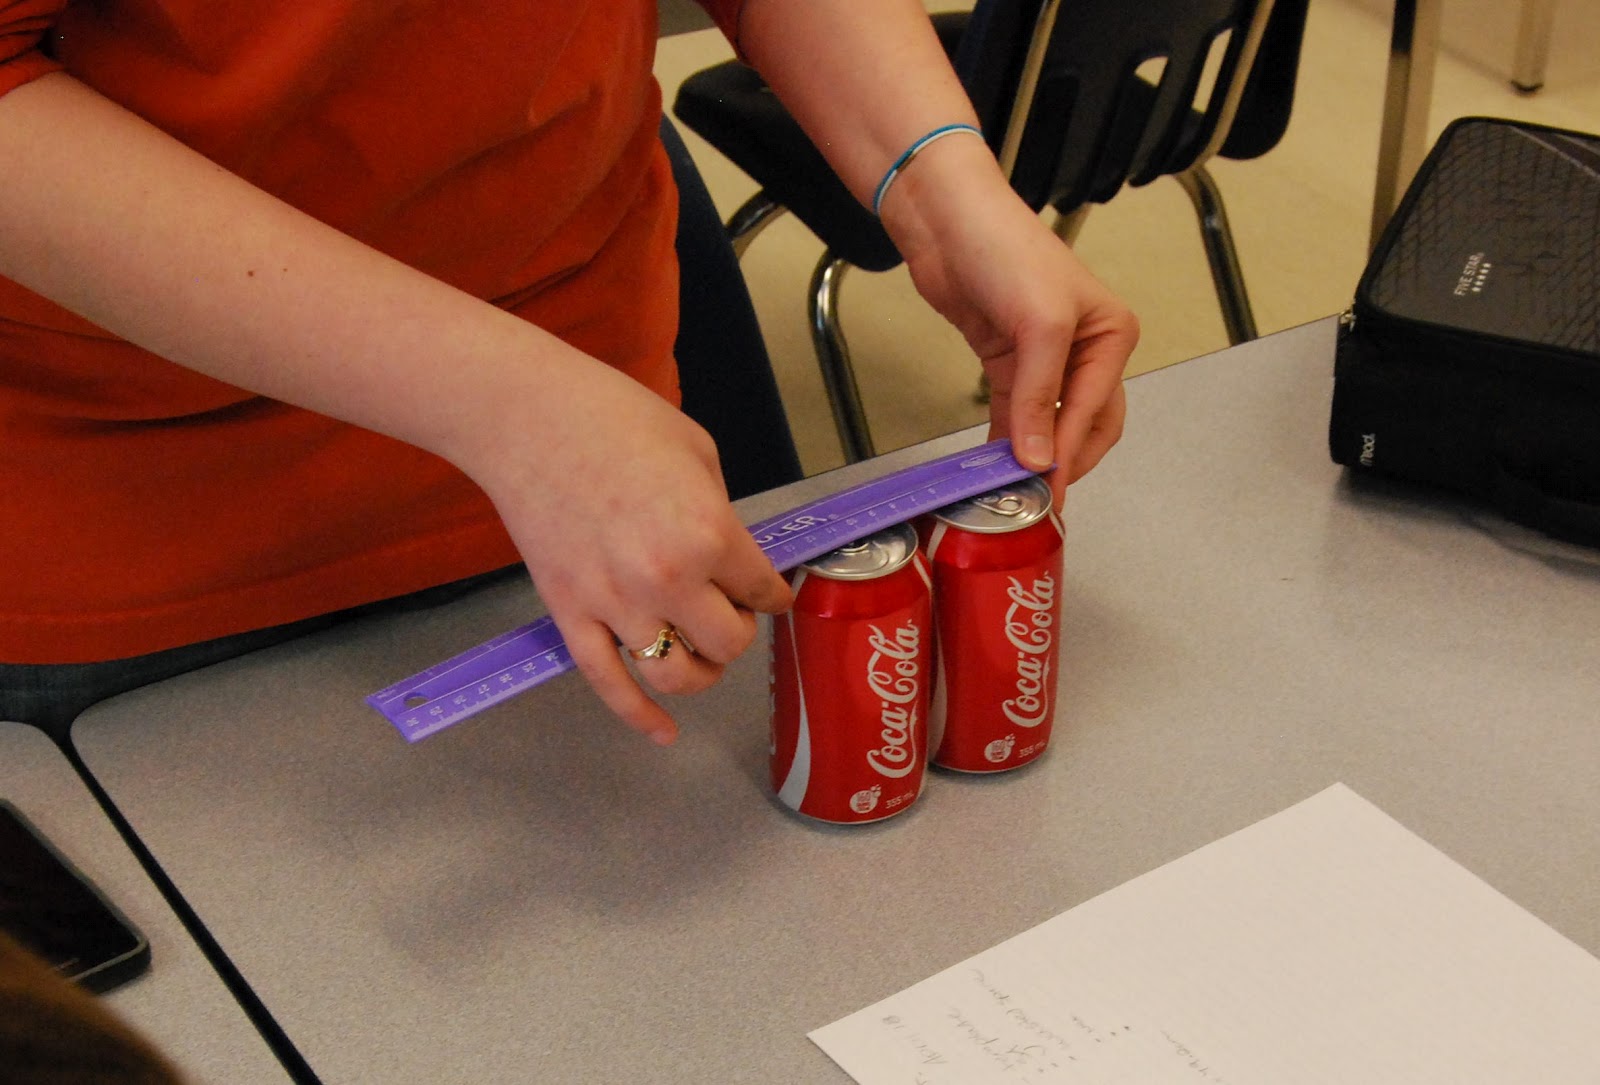
As class began to wind down, students got to the measurements of their designs. Diameters, heights, and radii were all jotted down.
 |
| Cylindrical design gets initial measurements |
 |
| Triangular base is measured |
It took a full hour of running around, but most groups finished the class with a rough idea of how they wanted to attack the problem. Up to this point, estimation and conjectures had been made, but few real measurements and calculations to back them up. The next challenge is that of accuracy. How can the formulae be applied to the box? How are the measurements going to be recorded from the cans? How much space needs to be added for tabs?
All these struggles will be documented in the next installment as students move through the design phase into fabrication.
After the brainstorm, one thing was crystal clear:
I was completely helpless. The students owned the class now–and they knew it!
NatBanting


One reply on “Soft Drink Project Part 2: The Brainstorm”
Fantastic, Nat! It's the best kind of helplessness a teacher could feel.